How to Make a Fluffy Omelet Without Tearing It: A Frying Pan Masterclass
Achieving a restaurant-quality omelet at home is a skill that combines preparation, heat management, and the right equipment. Many home cooks struggle with eggs that stick to the surface or tear during the folding process. While ingredients matter, the geometry and material of your omelette cookware are the primary factors in your success. This guide provides a technical breakdown of how to prepare, cook, and plate a perfect, fluffy omelet using professional techniques.
1. Select the Right Pan Size for Your Eggs
The diameter of your pan dictates the thickness and cooking speed of your omelet. If the pan is too large, the egg layer will be too thin and dry out before you can fold it. If the pan is too small, the omelet will be excessively thick and rubbery on the outside while remaining raw in the center. Matching the volume of eggs to the surface area of the pan is the first step in successful cooking.
Choose an 8-Inch Pan for Two to Three Eggs
For a standard individual omelet consisting of two or three large eggs, an 8-inch pan is the professional standard. This size provides enough surface area for the eggs to spread into a manageable circle while maintaining a thickness that supports fillings without tearing. An 8-inch egg frying pan allows the eggs to cook quickly and evenly, which is essential for preserving a tender texture.

Prioritize Sloped Sides over Straight Walls
The shape of the pan's sides is just as important as its diameter. Look for omelette cookware with flared or sloped sides rather than vertical ones. Sloped sides allow you to use a spatula to get under the edges of the eggs easily. They also facilitate the "rolling" or "sliding" motion required to move the omelet from the pan onto a plate without using excessive force that could cause structural failure.
Look for a Heavy, Responsive Base
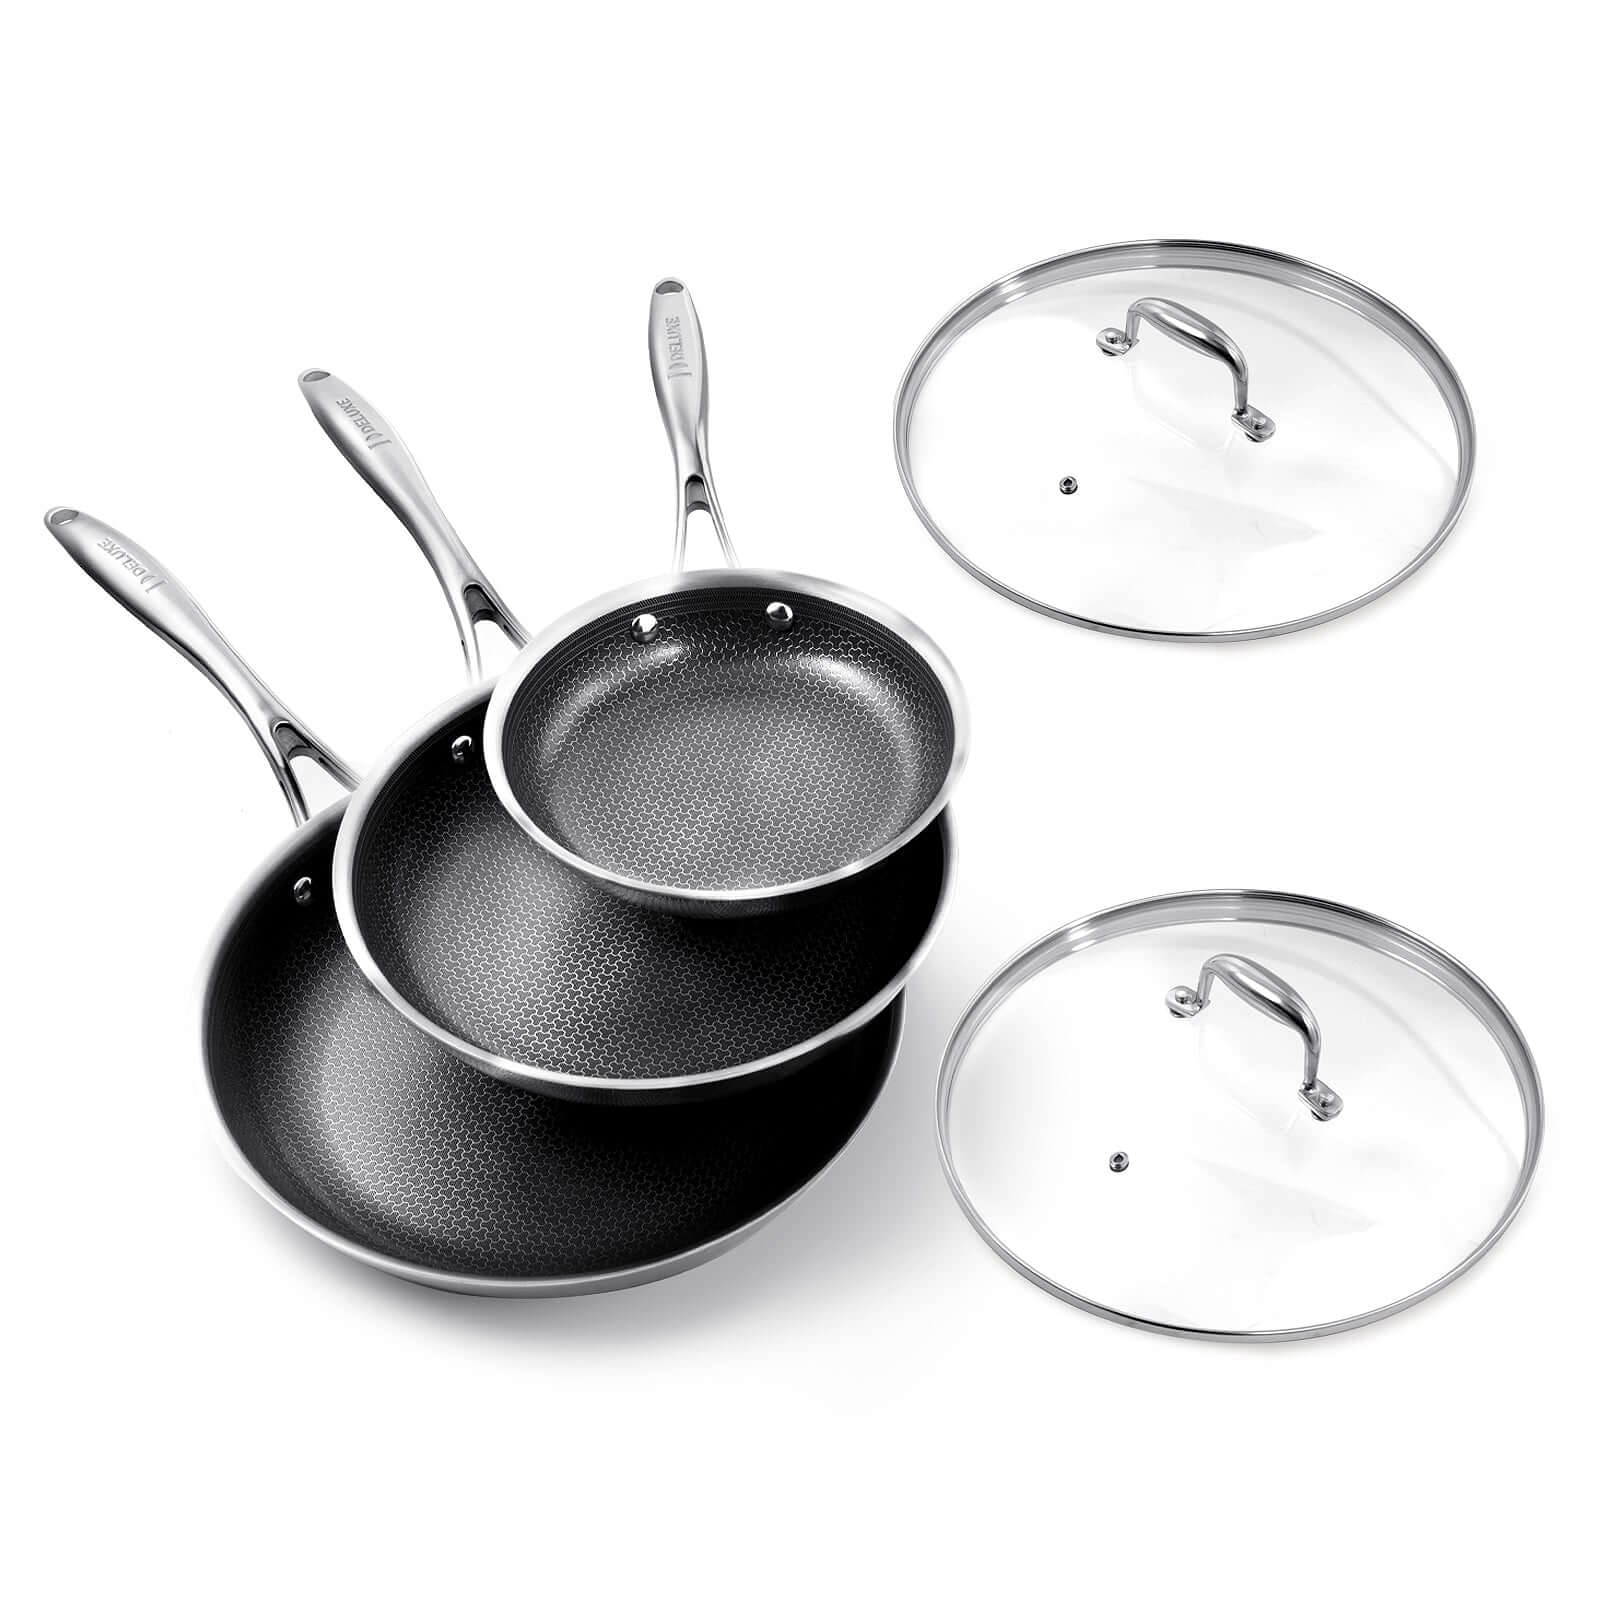
A pan with a heavy base—usually made of encapsulated aluminum or tri-ply stainless steel—distributes heat more uniformly. Thin pans often develop "hot spots" directly over the burner flame, which can cause one part of the omelet to brown or burn while the rest remains liquid. A stable, flat base ensures that the entire cooking surface remains at a consistent temperature, providing a reliable canvas for delicate egg proteins.
2. Prep Your Eggs for Maximum Aeration
Fluffiness is a result of air being trapped within the protein structure of the eggs. How you handle the eggs before they touch the pan determines the final volume and lightness of the dish. Proper aeration requires vigorous mechanical action and a clear understanding of egg chemistry.
Whisk Until No Visible Strands Remain
To achieve a uniform texture, you must break down the chalazae (the white strands that anchor the yolk) and fully integrate the whites and yolks. Whisk the eggs in a bowl using a fork or a balloon whisk until the mixture is a consistent pale yellow color with no translucent streaks. This process introduces tiny air bubbles that expand when they hit the heat of the best frying pan, resulting in a lighter bite.
The Role of Liquid Additions
Adding a small amount of liquid can alter the omelet's texture. A teaspoon of water per egg creates steam as it heats, which helps the eggs rise and become "fluffy." Conversely, adding heavy cream or whole milk provides a richer, more "custard-like" consistency but can make the omelet slightly heavier. Avoid adding too much liquid, as it can weaken the protein bonds and increase the likelihood of the omelet tearing during the fold.
Seasoning at the Final Moment
Salt is a powerful tool in egg cookery. It acts as a tenderizer by preventing the egg proteins from bonding too tightly. However, salting the eggs too early in the prep process can cause them to become watery. For the best results, whisk your eggs first, and only add salt and pepper immediately before pouring the mixture into the hot pan. This ensures the proteins remain stable enough to hold their shape during the cooking process.
3. Why Is Low to Medium Heat Essential?
Eggs are highly sensitive to temperature. High heat causes egg proteins to contract rapidly, squeezing out moisture and leaving you with a dry, brown, and rubbery result. Temperature control for perfect eggs involves finding the balance where the eggs set quickly enough to stay light but slowly enough to remain pale and tender.

Understanding the Coagulation Point
Egg proteins begin to coagulate at approximately 140°F (60°C) and become fully set by 160°F. If your pan is screaming hot, the bottom of the omelet will reach these temperatures instantly, creating a tough skin. By maintaining a medium-low heat setting, you allow the heat to migrate from the bottom of the pan through the entire egg mass gradually. This produces a soft curd that is easy to manipulate.
Testing Pan Temperature with Butter
A reliable way to check your temperature control for perfect eggs is to observe how a small knob of butter reacts to the surface. If the butter sizzles and foams but does not brown immediately, the pan is ready. If the butter turns brown or begins to smoke, the pan is too hot and should be removed from the heat for a minute before proceeding. The goal is to hear a gentle hiss when the eggs are poured, indicating immediate setting without scorching.
Managing Residual Heat
Professional chefs often remove the pan from the burner just before the omelet is finished. The residual heat stored in the heavy base of a high-quality egg frying pan will continue to cook the eggs for 30 to 60 seconds after it has been moved. This "carry-over cooking" is the secret to a moist center. If you wait until the eggs look completely dry in the pan, they will likely be overcooked by the time they reach the plate.
4. Apply the Right Amount of Fat
Even with a high-quality nonstick surface, fat is necessary for both lubrication and flavor. The fat acts as a secondary barrier between the egg proteins and the pan material, ensuring the omelet can glide freely during the final stages of cooking.
Why Butter Is the Professional Choice
Butter is the preferred fat for omelets because of its water content and flavor profile. As the water in the butter evaporates, it creates a layer of steam that helps lift the eggs from the pan surface. Furthermore, the milk solids in butter provide a rich, nutty finish that complements the natural flavor of the eggs. Use about half a tablespoon of unsalted butter for a two-egg omelet to ensure full coverage of the pan's surface.

Using Oil for a Clean Finish
If you prefer a neutral taste or are cooking at a slightly higher temperature, a neutral oil like grapeseed or avocado oil is an effective substitute. Oil has a higher smoke point than butter, meaning it won't burn as easily. However, oil lacks the steaming properties of butter, so you may notice a slightly denser texture. Some cooks use a "half-and-half" approach, combining a small amount of oil with butter to get the benefits of both.
Ensuring Full Edge-to-Edge Coverage
A common mistake is only greasing the center of the pan. Because the egg mixture will climb up the sides of the pan as it sets, you must ensure the sloped walls are also coated with fat. Swirl the melted butter or oil around the entire circumference of the best frying pan before adding the eggs. This prevents the "skirt" of the omelet from sticking to the dry sides, which is a frequent cause of tearing when you attempt to fold it.
5. How Do You Keep an Omelet from Sticking?
Sticking is the primary reason omelets fail. Preventing this requires a combination of the right omelette cookware and active manipulation of the eggs during the first few seconds of cooking. A passive approach to egg cooking almost always leads to a bonded surface that is difficult to release.
Maintaining Your Nonstick Pan for Cooking Eggs
The integrity of the nonstick coating is paramount. Even the best frying pan will lose its effectiveness if the surface is scratched or degraded by high heat. Never use metal utensils, as they create microscopic gouges where egg proteins can anchor themselves. To keep your nonstick pan for cooking eggs in top condition, wash it by hand with a soft sponge and avoid using abrasive scouring pads that can strip the PTFE or ceramic layer.

The Agitation Technique
As soon as the eggs hit the pan, use a heat-resistant silicone spatula to stir them gently in a circular motion, similar to making scrambled eggs. At the same time, shake the pan back and forth. This movement prevents any single part of the egg mass from sitting against the heat for too long, creating small, tender curds. Once the eggs are about 70% set but still look "wet" on top, stop stirring and smooth the eggs into an even layer to let the bottom finish setting.
Releasing the Edges Early
Before you attempt the final fold, run your spatula around the entire edge of the omelet to ensure it is completely detached from the sides of the pan. If you find a spot that is sticking, add a tiny sliver of butter to that area; the melting fat will often help release the protein bond. A successful egg frying pan experience depends on the omelet being able to slide freely when the pan is tilted.
6. Master the Fold and Slide Technique
The final transition from pan to plate is where most tearing occurs. Instead of trying to "flip" the omelet like a pancake, use gravity and the geometry of the pan to your advantage. This technique requires a calm hand and a specific angle.
The 45-Degree Tilt Method
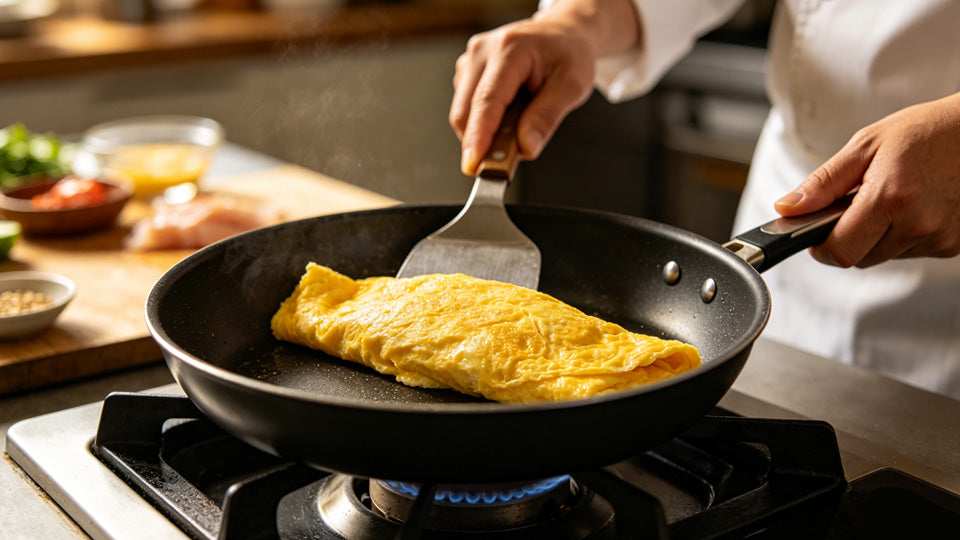
When the omelet is set, but the center is still slightly moist, tilt the pan at a 45-degree angle over your plate. Use your spatula to fold the top third of the omelet over the center. If you are wondering how to flip fluffy omelets without a mess, the secret is that you don't actually flip them in the air; you "tumble" them onto the plate.

Sliding and Rolling
With the pan still tilted, allow the folded omelet to slide toward the lower edge of the sloped side. As the edge of the omelet touches the plate, quickly invert the pan. The omelet should roll over itself, landing on the plate with the seam side down. This creates the classic "cigar" or "half-moon" shape seen in professional kitchens. This method is the most reliable way to flip fluffy omelets while maintaining their structural integrity.
Final Shaping and Finishing
Once the omelet is on the plate, you can use a clean paper towel or a piece of parchment paper to gently press and shape it into a perfect cylinder. This also allows you to wipe away any excess butter for a clean presentation. A small brush of melted butter on top will give the omelet a professional sheen and prevent the surface from drying out as it sits for a moment before serving.
Cook Better Omelets Every Time
Mastering the omelet requires respect for the tools and the ingredients. By selecting high-quality omelette cookware and practicing precise heat management, you can eliminate the frustration of sticking and tearing. Remember that the best frying pan is only as effective as the person controlling the burner. With patience and the right "fold and slide" technique, you will consistently produce fluffy, elegant omelets that are as beautiful to look at as they are delicious to eat.
FAQs About Making Fluffy Omelets
Should I add milk or water to my eggs for a fluffier omelet?
No, milk is not the best choice for fluffiness. While milk adds creaminess, the proteins in milk can actually make the omelet tougher. Water is more effective for fluffiness because it evaporates into steam, which helps the eggs expand and rise during the cooking process. Use no more than one teaspoon of water per egg for the best results.
Can I use a cast iron skillet to make an omelet?
Yes, but only if the cast iron is exceptionally well-seasoned and maintained. Because eggs are high in protein and low in fat, they bond easily to porous surfaces. A high-quality nonstick pan for cooking eggs is generally recommended for beginners because it provides a more forgiving surface that requires less fat and maintenance to prevent sticking.
Why does my omelet always turn brown?
This is almost always a sign that your heat is too high. Egg proteins brown quickly when exposed to high temperatures, which also results in a sulfurous smell and a rubbery texture. To keep your omelet yellow and tender, ensure you are using a medium-low setting and monitor the butter for any signs of browning before adding the eggs.
How do I fix an omelet that has started to tear?
Minor tears can often be hidden. If the omelet tears during the fold, quickly push the edges back together; the residual liquid egg on top will act as a "glue" to seal the gap. You can also hide the tear by rolling the omelet so the damaged side is underneath or by covering the area with a small amount of cheese or fresh herbs.
Is it necessary to use a lid when cooking an omelet?
No, it is generally not necessary if you are using the agitation technique. Stirring the eggs during the first half of cooking ensures the top and bottom cook at a similar rate. Using a lid can trap too much moisture, leading to a "steamed" egg flavor and a texture that is too soft to support heavy fillings.